The Jabber Protocol
The Jabber protocol is based on the Extensible Messaging and Presence Protocol (XMPP) standards.
The Jabber open-source community developed this standard in 1999 to provide an open communications technology. Many questions about its use and history can be found at the Jabber Web site. The Openfire and Spark projects were built directly from these open standards.
Ignite Realtime, which maintains Openfire and Spark, is an open-source community based upon Jive Software, which provides professional services for content management and communications systems. Both server and client can be installed and operated on Windows, Linux, and Mac. In the event that enterprise-level support is required, Jive Software offers commercial business solutions as well.
The Server
Building an IM system requires two things: 1) a server installation designated to only one machine or spanning multiple instances and 2) a client package to be installed on all workstations where communications are needed. The server package is Openfire, which comes nicely bundled in several OS flavors, with a Java JRE that is required to run the server. The Linux package comes either in source form or in an RPM to be used with any Red Hat Linux OS. I'll explain installing the server onto a Red Hat variant. To find whichever Openfire package is required for your needs, visit the downloads section of Ignite Realtime's Web site.
Install the RPM on RHEL:
The RPM automatically creates and turns on the service in RHEL, but the service will need to be started by hand the first time it's run. Subsequent reboots of the server will automatically start the service. You can then check the status of Openfire.
# service openfire status
openfire is running
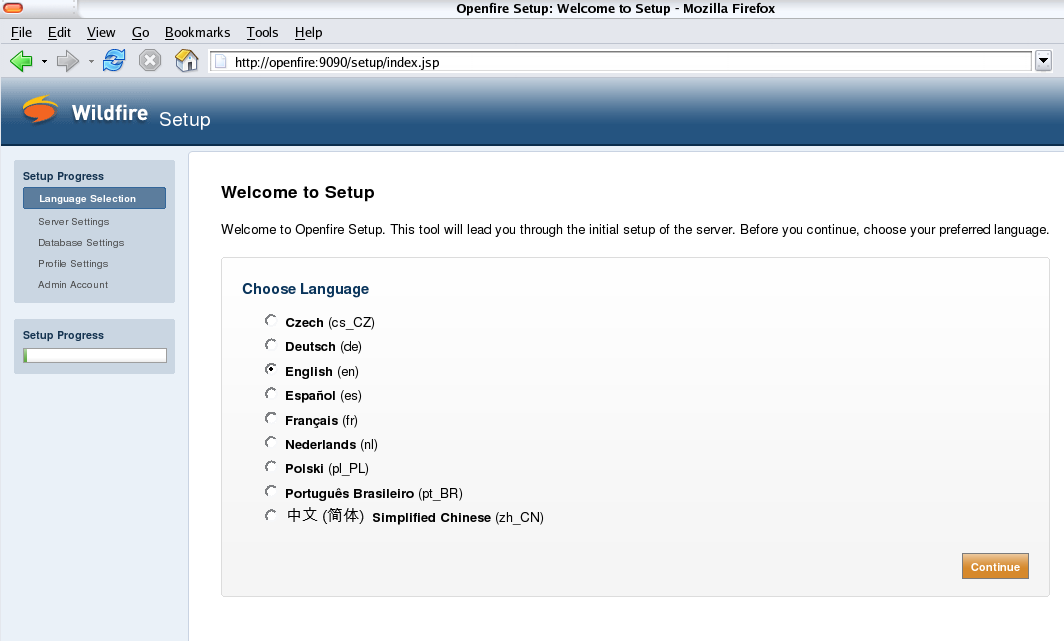
After installation, setup is easily completed from a Web interface. Open up a Web browser and navigate to either http://127.0.0.1:9090 or http://servername:9090. If you encounter any problems, verify that nothing else is operating on port 9090 or otherwise blocking it. You should get a setup screen that looks like Figure 1.

Figure 1: Here's your Openfire setup screen. (Click images to enlarge.)
The setup options are self-explanatory. The server settings page requires a domain name, which should already be filled in by what it reads from the system. Of most interest to you is the database settings page. Openfire allows connections to standard external databases. MySQL, Oracle, Microsoft SQL Server, PostgreSQL, and IBM DB2 are the database types it can connect to. Alternatively, you can use the embedded database HSQLDB, which requires no configuration and allows for ease of setup and use. For your application, you might find an external database to be best. For mine, I use the embedded one.
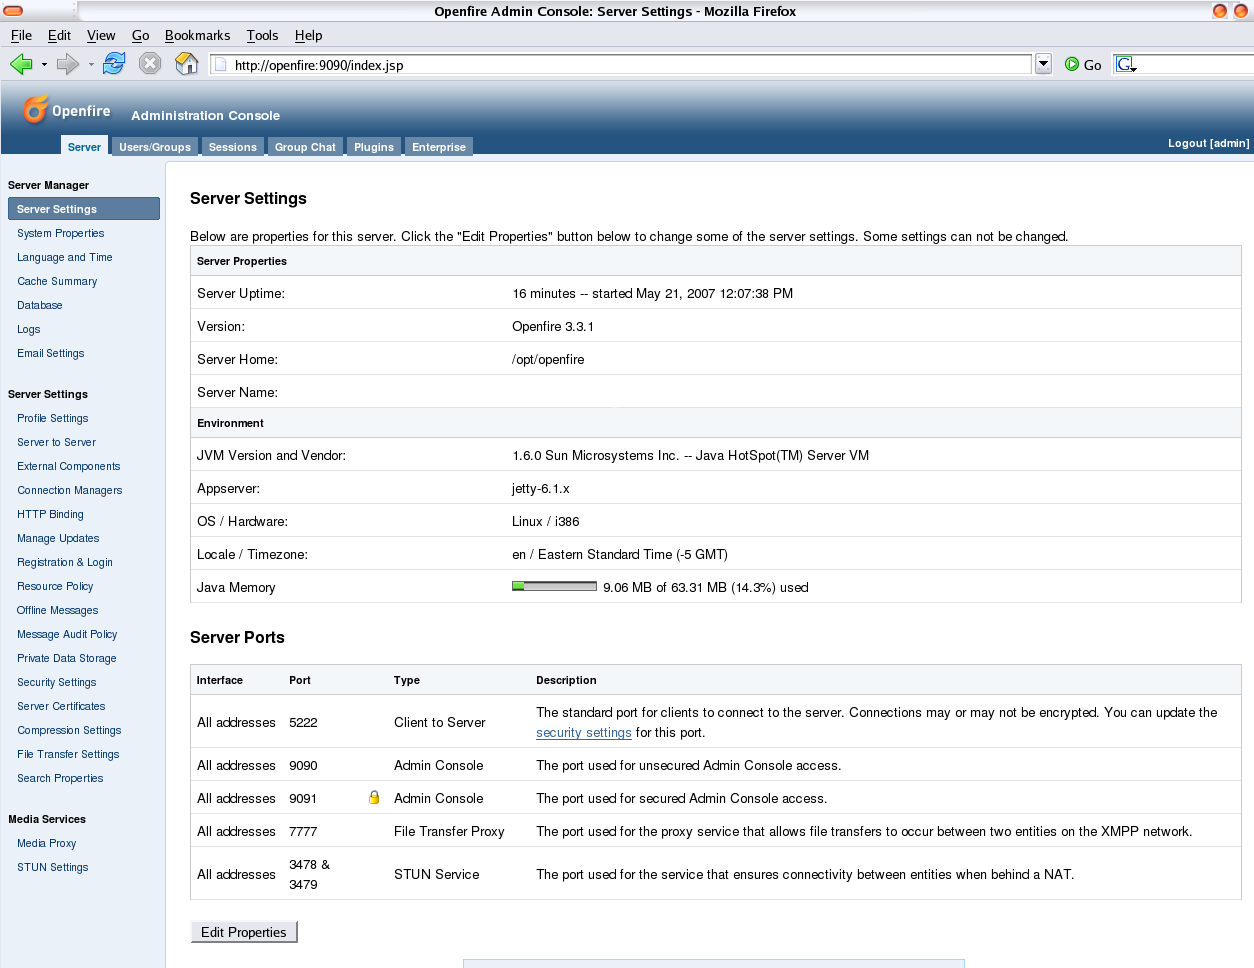
The profile settings page enables you to set up the default user and group system or allows you to configure Openfire with an LDAP server. The admin account page provides the last step in configuration. Enter an email address and a password for administration purposes only. Once complete, you should see a button to log in to the admin console. Click it, and once logged in, you should see a console as illustrated below.

Figure 2: This is the Openfire admin console.
The configuration options are too vast to explain here. You can configure resource limits, offline message policies, server-to-server communications, message auditing, security certificates, message compression, and much more. You can create, edit, and delete users and groups under the users and groups page, and you can even set up group chats if you'd like. If you need assistance, check out the active user-based forum or the documentation provided online.
The Client
The hardest part of this project is server installation and configuration.
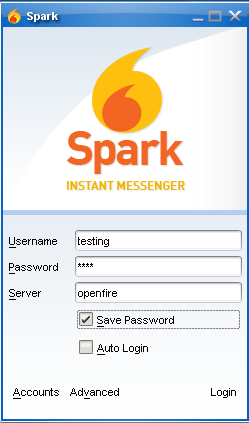
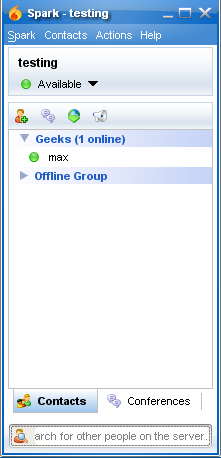
The next step is to install the client on all the workstations needed. Spark is packaged similarly to the server and also comes with packages for Windows, Linux, and Mac. The Windows clients are packaged as either an MSI installer or an .exe, and the Linux client is a zipped file and requires slightly more manual installation. The client is rather simple to install, so I'll leave it up to you to experiment with it. The result for the client should be a sign-on screen (Figure 3) and then the IM list after you are logged into your server (Figure 4).

Figure 3: The Spark sign-on screen looks like this.

Figure 4: And now you have your IM list.
Once signed onto your Openfire server, you can find quite a few configurable options under the Spark menu for preferences and plug-ins available. One of the most useful features of Spark is the ability to broadcast messages. If you click under Actions or if you right-click any group defined in your list, you can select "Broadcast Message." I use this feature all the time to send out messages about the IT system to the entire company or to only certain groups. This saves a lot of time on the phone and also ensures that everyone logged on gets the messages at the same time.
Spark Manager Plug-in
The only annoyance that I encountered with Spark was that it consistently bugged the user about upgrading the client if any updates were found. The client itself does not offer any way to turn this feature off, but you can install a plug-in on the server, download a version of Spark that is of equal or lesser value than the one currently running, and select this as the active installation for your system. This plug-in, called Spark Manager, seemed to resolve the pop-up problem. Install it (a Java .jar file) into the following directory under Linux:
Afterward, Spark Manager should appear when you access the plug-ins tab from the admin console.
Next, download and place a Spark client installation package into the following directory. This package needs to be the same version (or older) as all the clients on your network.
Now, visit the main server configuration tab and a Spark Manager section should appear on the left side near the bottom. Click the settings button to choose any version of Spark that you have downloaded into this directory to be the active version. Now, users will not be bothered by update messages again. If you give users the necessary rights to install or upgrade packages, you can put the most current Spark client into the builds directory and choose it to be the newest active package. Then, when users log in, upgrades will be performed directly from your server.
Extending Openfire and Spark
The nice thing about XMPP is the ability to extend the server and client or adapt them to your own needs. Spark is extensible through the Sparkplug kit, which provides a way for you to customize the client for any business needs. Openfire and Spark can be extended through the Smack API, a pure Java library that can be embedded into applications to create clients or to send notifications across the network.
With the open APIs and available plug-ins, Openfire and Spark together can satisfy all your IM needs. Overall, this project is very stable and mature. I've been running it for nearly a year and a half without problems. It provides secure internal communications without requiring a lot of overhead installing, configuring, and maintaining the IM system. Best of all, if something doesn't work as you anticipate, you can purchase support or write your own code to satisfy your business needs.


LATEST COMMENTS
MC Press Online