Building the SAMPLE Database
By Roger Sanders
Editor's Note: This article is excerpted from chapter 5 of QuickStart Guide to Db2 Development with Python, by Roger Sanders.
Please read the previous parts of this series here: Part 1 and Part 2.
Db2 comes with a sample database (named SAMPLE) that, when created, can be used for a variety of purposes, including the development and testing of Db2 applications. Consequently, most of the sample programs that were created to supplement this book have been designed to work with the SAMPLE database. (You can learn more about the Db2 sample database here: https://www.ibm.com/support/knowledgecenter/en/SSEPGG_11.1.0/com.ibm.db2.luw.apdv.samptop.doc/doc/r0001094.html.)
To create the Db2 sample database and run a simple query against it, perform the following steps:
- Open a terminal window (if you don’t already have one open).
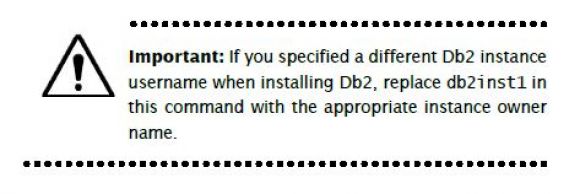
- Log in as the Db2 instance user (which is db2inst1, by default) by executing the following command:
su – db2inst1
When the Password: prompt appears, provide the appropriate password and press Enter.
- Start the Db2 database manager background processes by executing the following command:
db2start
If the appropriate background processes were started successfully, you should see a message that looks like this: SQL1063N DB2START processing was successful. (If the Db2 database manager background processes are already running, the message will look like this instead: SQL1026N The database manager is already active.)
- Create the Db2 sample database by executing a command that looks like this:
db2sampl -force -sql
The -force option tells Db2 to re-create the database if it already exists; the -sql option tells Db2 not to include XML data in the database it creates.
When this operation is completed (usually within 2 to 5 minutes), you should see a message that says 'db2sampl' processing complete.
- Connect to the database that was just created by executing the following command:
db2 connect to sample
When this command is executed, you should see a message that looks something like this:
Database Connection Information
|
Database server |
= |
DB2/LINUXX866411.1.4.4 |
|
SQL authorization ID |
= |
DB2INST1 |
|
Local database alias |
= |
SAMPLE |
- Once a database connection is established, retrieve the contents of a table named DEPARTMENT by executing the following command:
db2 "select * from department"
You should be presented with fourteen rows of data along with the message 14 record(s) selected.
- Terminate the database connection by executing the following command:
db2 connect reset
You should see the message DB20000I The SQL command completed successfully.
Installing the Db2 Python Library (Driver)
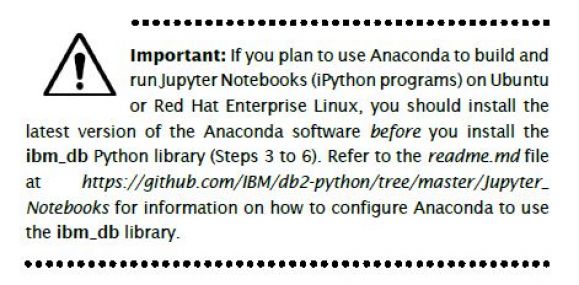
Before you can build Python applications that work with a Db2 server or database, you must first install the ibm_db Python library (driver). This is done by performing the following steps:
- Open a terminal window (if you don’t already have one open).
- Log in as the root user by executing the following command:
su - root
When the Password: prompt appears, provide the appropriate password for the root user. The command line prompt should change from $ to #.
- If you are using Ubuntu Linux, execute the following commands to install packages that will aid in Python application development and make the installation of the ibm_db library easier:
apt-get -y install git
apt-get -y install python3-setuptools
apt-get -y install python-pip
apt-get -y install python3-pip
pip install --upgrade pip
pip3 install -U testresources
pip3 install -U pytz
pip3 install -U ipython
pip3 install -U ibm_db
apt-get update
If you are using Red Hat Enterprise Linux, execute the following commands instead:
subscription-manager repos –enable rhel-server-rhscl-7-rpms yum -y install @development
yum -y install rh-python36
yum -y install rh-python36-python-tools
yum -y install rh-python36-python-six
chmod -R 777 /opt/rh/rh-python36
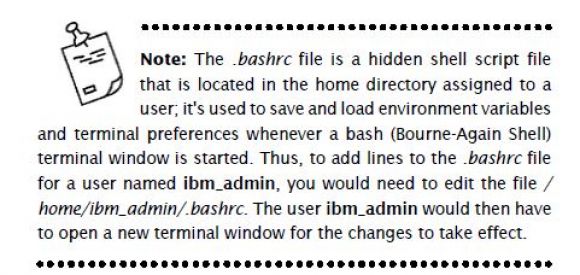
- (Red Hat Enterprise Linux only) Use your editor of choice to add the following lines to the .bashrc file for the Db2 instance user (which is db2inst1, by default):
# Add RHSCL Python 3 to my login environment
source scl_source enable rh-python36
If you want other users to be able to execute Python 3 applications, you need to add these lines to the .bashrc file for those users as well.
- (Red Hat Enterprise Linux only) Open a new terminal window and use the su command to log in with a non-root administrator account that has had the .bashrc file modified. For example, to log in under a user account that was assigned the name ibm_admin, you would execute a command that looks like this:
su – ibm_admin
(If the Password: prompt appears, provide the appropriate password and press Enter.)
- (Red Hat Enterprise Linux only) Install the ibm_db Python library software by executing the following commands:
pip install --upgrade pip
pip3 install -U ipython
pip3 install -U ibm_db
Summary
After you have successfully completed the steps outlined in this chapter, you should have a Linux environment that can be used to develop Python 3.6 applications that interact with the SAMPLE database provided with You should also be able to create other databases and database objects to work with, as well as explore the different features that has Db2 to offer. (To learn more about these features, refer to the IBM Db2 Version 11.1 Knowledge Center.)


LATEST COMMENTS
MC Press Online